Meta understands the agony of photographing your asset for a thumbnail! As a result, they enhanced the process for making them to make it easier to obtain high-quality photographs to reflect your amazing work.
Create a thumbnail during asset creation Step by Step
1: Navigate to asset creation from the property panel or build menu.
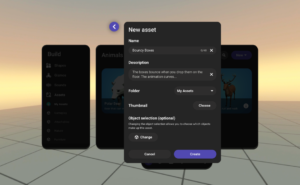
Step 2: Select ‘Choose’ for Thumbnail and select ‘Take Photo.’
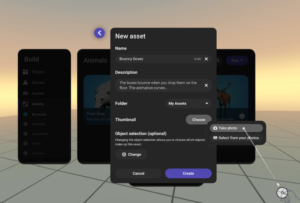
Step 3: You will see an instruction modal with the following information:
● Move the asset to a clear area
● Look at the asset and center it in your field of view
● Press the right trigger button on your controller
● The thumbnail will appear in Asset Details page
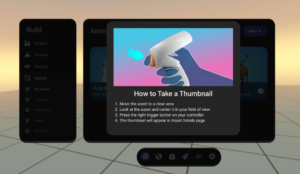
Step 4: You will see a dashed box in your view. Ensure your asset is in the view and press the right trigger button on your controller. Please note: You don’t need to worry about the panels in the view, it won’t be included in the thumbnail image.

Step 5: Check the thumbnail image you just took, you can take it again if you’d like to.
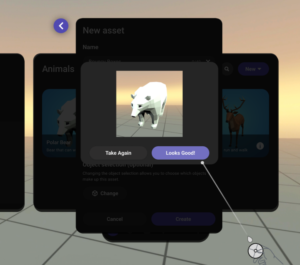
Step 6: Click on ‘Create’ to create a new asset with the thumbnail.

